Another week – the fourth – of boat work has passed. Everything is still taking longer than I imagined, but progress is still being made. The week was filled with a lot of work on the bobstay and whisker stay fittings and a pesky stuffing box, but I still found time for a few other projects. It looks like we will launch sometime next week with not much more than the installation of the Hydrovane, which I have hardly even read the installation instructions for, and the timely arrival of the rigging wire standing in our way.
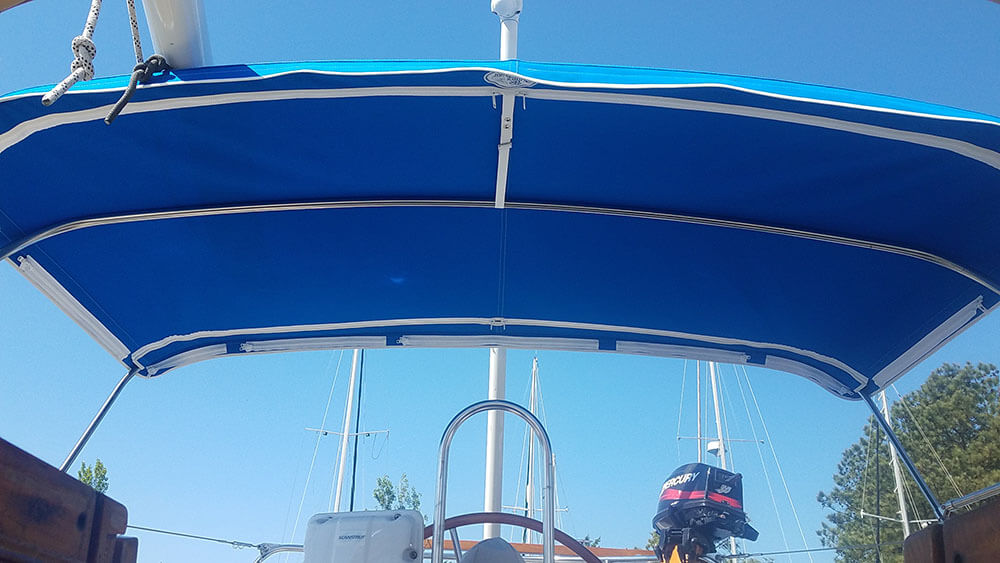
Our new bimini.
To start last week, the Ship’s Tailor showed up first thing in the morning with the new bimini. They followed that up a few days later by bringing over our connector piece (between the bimini and dodger) that they tightened up. At that time, they also took measurements for the enclosure, which they expect to have done sometime towards the end of next week. They still need to sew in the velcro to attach our solar panels, but the bimini is a nice improvement on our older, poorly fitting, a little frayed, and regularly leaking bimini. Scott and the rest of the folks at the Ship’s Tailor have been a pleasure to work with.
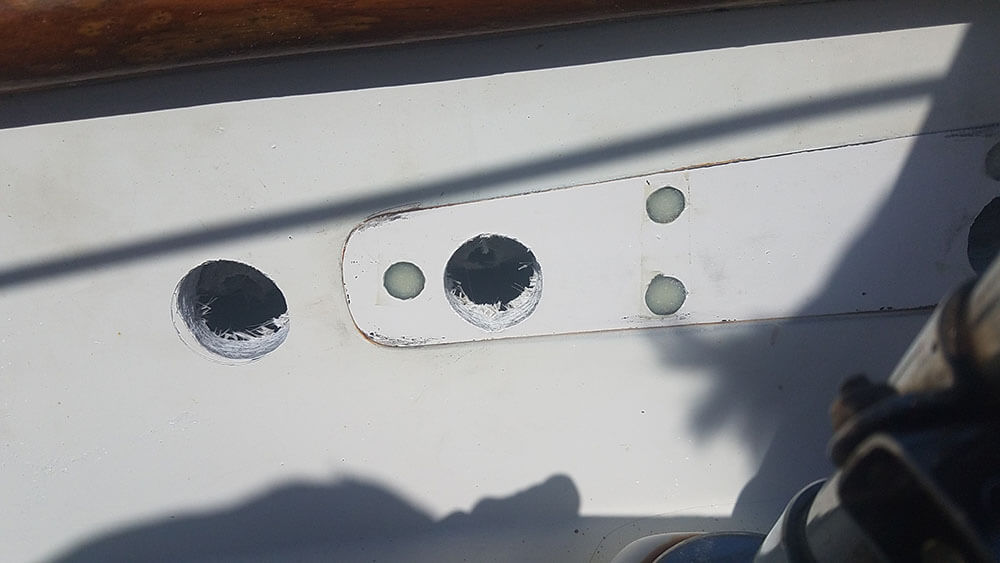
1 1/4″ holes in the bulwarks with the obvious void visible.
After the Ship’s Tailor left, I turned my attention to whisker stay fittings. I needed to drill larger holes in our bulwarks so that I could build up interior support for the new whisker stay fittings from Port Townsend. The Tayana 37 has a large void in the bulwarks, which we encountered previously when we were installing the external chainplates. There was only a small void at a few of the bolt locations for the older bolt holes; it seems the factory had put epoxy in those locations to provide some additional strength. I needed to do the same thing for the new bolts. That meant I spent the better part of an afternoon mixing up thickened epoxy and building up the inside of the newly drilled holes. Now that they are filled, I will drill 3/8″ holes through the center of the epoxied area for our new whisker stay fittings.
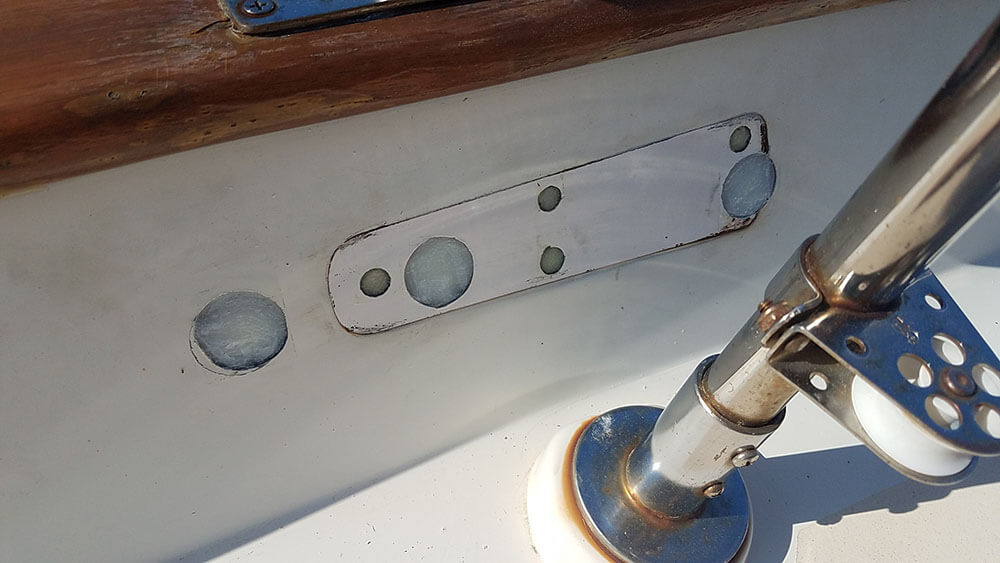
The voids and the holes completely filled in.
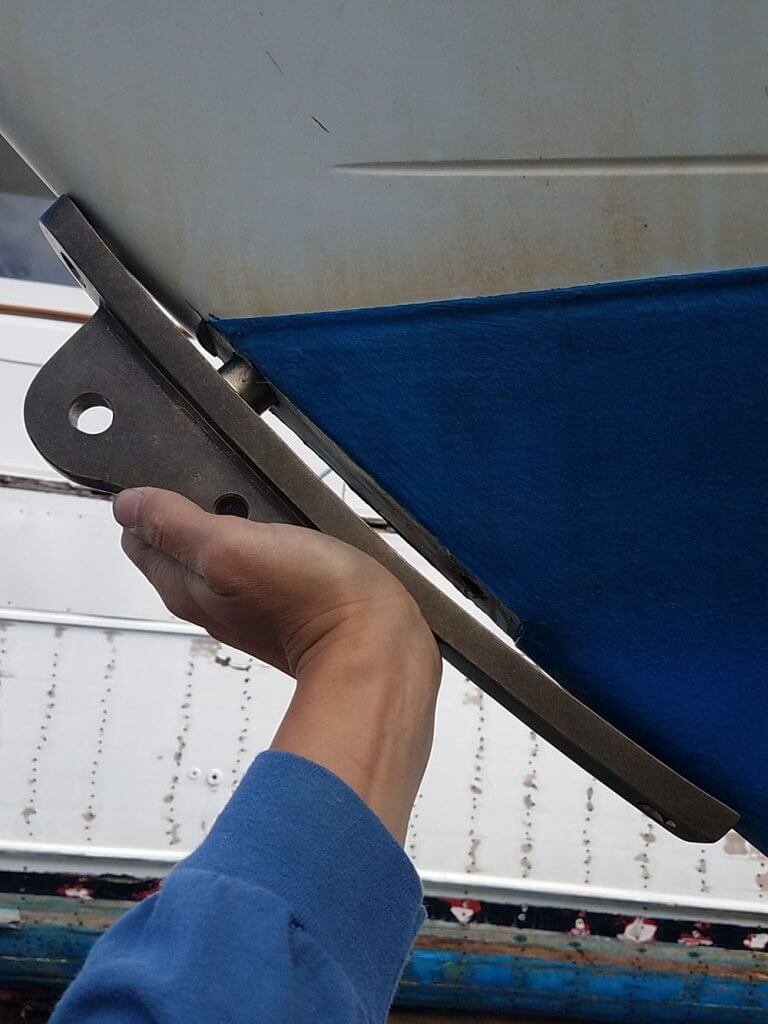
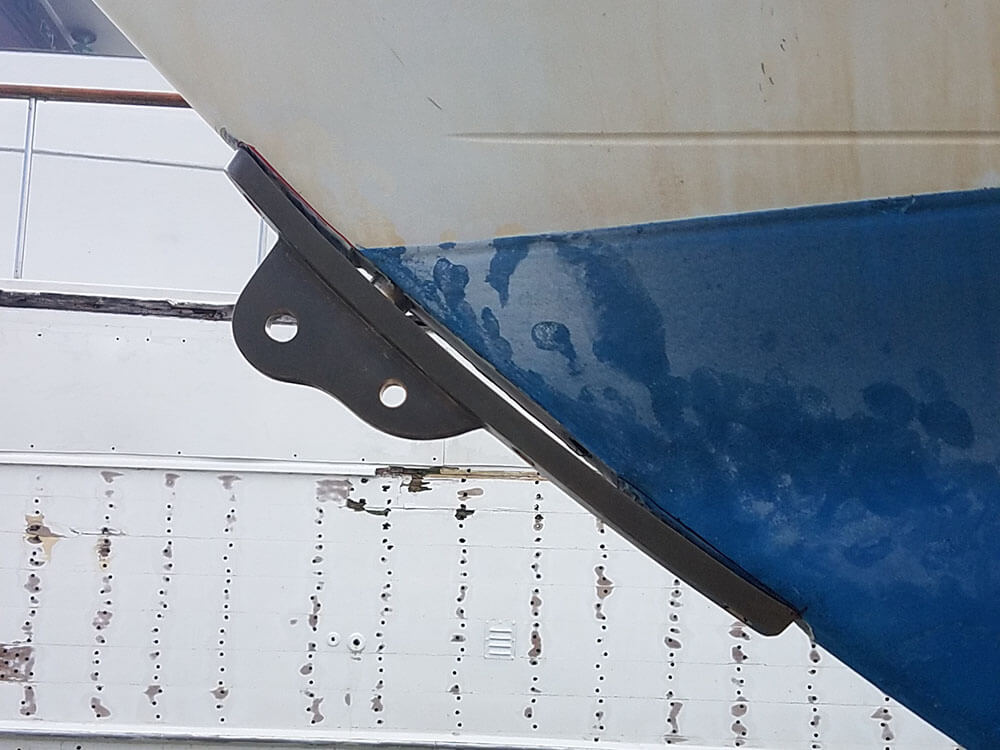
The outline of the old whisker stay fitting visible from underneath.
While I was drilling the pilot holes to address the void, I realized that the new fittings were not going to cover the outline of the old ones. Instead of sanding and putting new gelcoat and match the paint on the bulwarks, which can be a difficult place to reach with power tools, Chris had the great idea to make some mounting plates for the new fitting. I happened to have some extra G10, so I cut out plates, sanded them, and, over the week, put multiple coats of primer and paint on them. They should look good when I get them permanently installed, though I think Chris was a little disappointed I did not make a few flourishes and add some engraving to the plates.
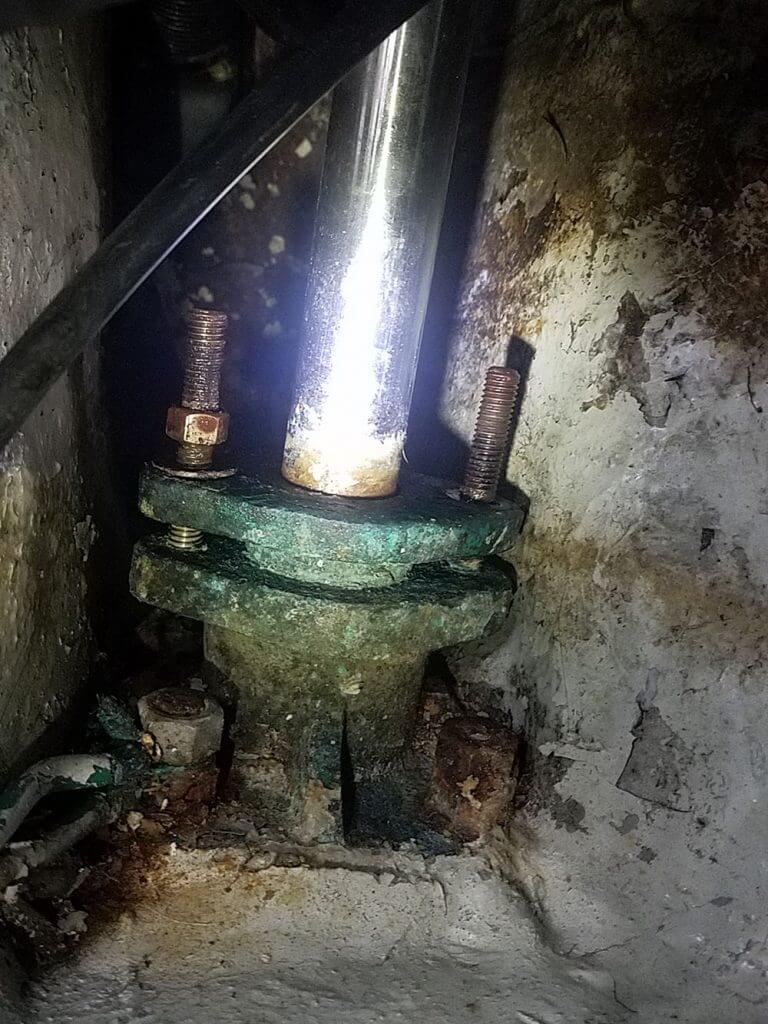
My nemesis, the stuffing box.
One day last week, I finally put the shaft log with the new cutlass bearing back on boat. It was not particularly difficult, which was a relief, just time consuming. Completing that job allowed me to turn my attention to the stuffing box (I saw no need to repack the stuffing if we were going to have to pull the shaft out for some reason). Afterwards, I climbed in the lazarette intent on quickly knocking out the repacking. As luck (or simply life on a boat) would have it, the packing gland was seriously stuck in the flange. Every couple hours over the next several days, I tried pressure, repeated coats of PB Blaster, raps of the sledge, and wooden wedges all in the tight confines of the aft end of the bilge. But the thing would not even budge. The stuffing box was so stubborn, despite me trying to “sneak up on it” as Chris always counsels, I had visions of having to take the box itself out. After some coaching from Costa, the story has a happy ending – or at least as happy as stuffing boxes get. But it happened today, so I will save the exciting details for the next installment.

The boat work to be done before we splash.
By the weekend, I was already feeling a bit down with the slow progress of things. Then, I discovered that all our websites, save Return to Seasons, which is on a different server, got hacked. I spent the better part of the next three days working on cleaning the malware and shoring up our defenses. More than once I thought I had the problem licked, only to have a malicious redirect pop back up on one site or another. I finally fixed everything for good late Monday night. As with boat work, I learned a lot along the way, but I am not eager to have to deal with any of those problems again. In the depths of my frustration, I put together what was meant to be a comprehensive list of tasks to do before we splash. You can see in the image that some of them are simply “research more” or the like, which means I had (and, in the case of the Hydrovane, still have) little idea of how to proceed. I find lists, especially in boat work, to be both cathartic and practically useful.
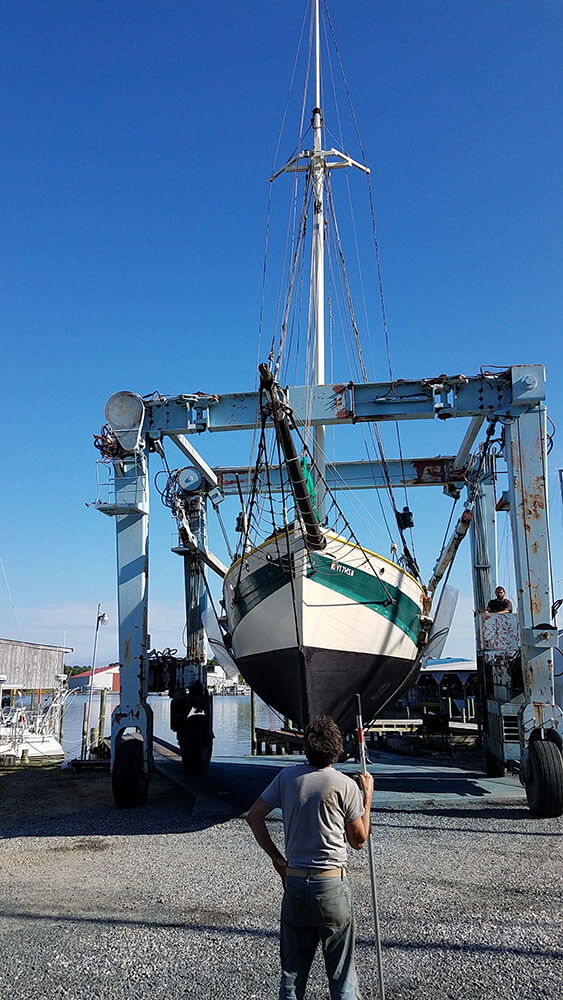
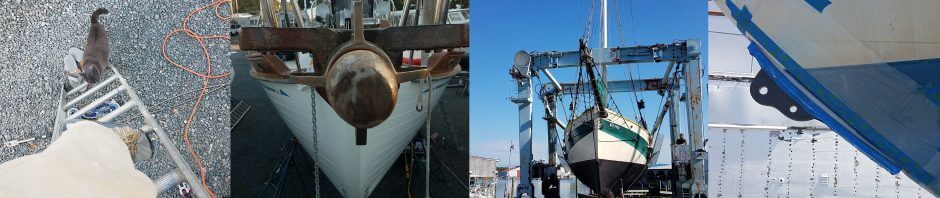
Costa maneuvering the Flying Lady into the water while a yard worker, looking something like Tashtego with a boat hook, looks on.
The next day, I got back in the swing of things. But there was an hour or two when just about everyone in the yard came out to watch the launch of the Flying Lady, Paul and Francoise’s splendid wooden boat. After three years on the hard, seeing it go in the water – and speculation about how much it would leak when it did – was a community event. To add to the excitement, a 44-foot deadrise was (and still is) sitting smack in the middle of the yard, making it near impossible to maneuver the Flying Lady with her massive bowsprit into the water. Costa seemed to be playing for the audience, turning the boat 270 degrees by going back and forth a few dozen times, but really he was just doing an expert job of weaving through the traffic.

The Flying Lady in the Travelift without her mizzen from the cockpit of Bear (the deadrise just poking out in the bottom right corner).
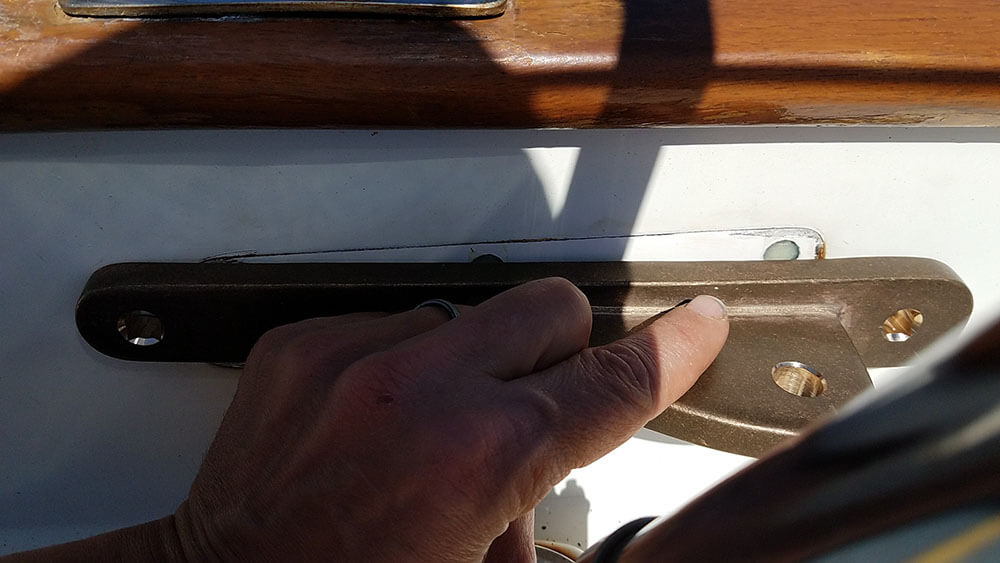
Fitting the bobstay fitting after drilling the boss hole.
After all the activity, I finally drilled the counterbore for the boss on our new Port Townsend bobstay fitting. I would not say I had been avoiding this job or overly stressing about it, but I did approach it cautiously. The boss is an inch in diameter and 1.25″ deep, so it is both larger and more complex than a typical hole in the boat. I decided to use one of the 1/2″ holes from the old fitting as a starting point. From there, I employed reduced shank full bits, starting with a 5/8″ one and working up to a one inch. Going slowly, I had no real problems.
The next step was to snug up the bronze fitting with a bolt into the boss. I started by grinding out the raised area of gel coat. Then Francoise provided some necessary assistance from the bow while I tightened down on the nut that was up against a temporary oak backing plate in the chain locker. Tightening another turn or two every hour or so and giving the fitting a few good smacks with a sledge and a 2 x 4, just as Pete at Port Townsend Foundry suggested and Matt from the TOG attested to, worked well. But a 1/8″ opening still remained.
The bobstay fitting after grinding and snugging up.
With Francoise again assisting, I took the fitting out, laid down some thickened epoxy, and then tightened it all up again to create a base. I was pretty happy with how it turned out. While this was going on, I also filled the other old bolt hole, which did not line up with the holes in the new fitting, with epoxy. The next step will be to drill out the new bolt holes and put on G10 backing plates with thickened epoxy.
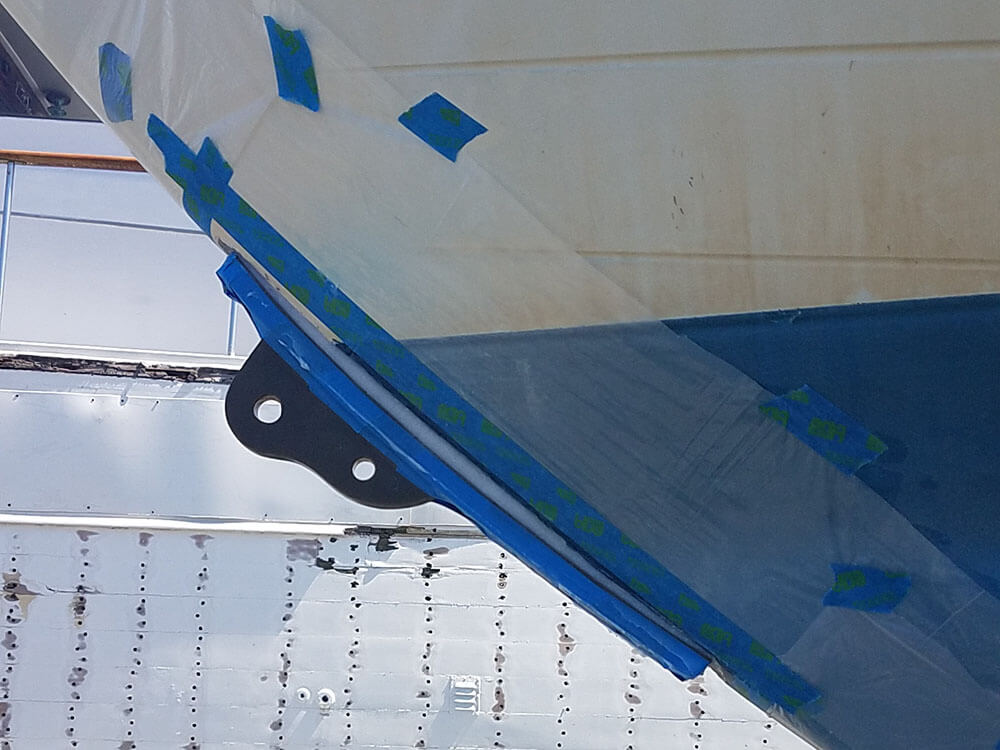
The epoxy setting up under the bobstay fitting.
Right after epoxying the bobstay fitting, I turned my attention to the cranse. After removing the shims on the bowsprit, I realized that the diameter of the Port Townsend cranse was really not that much smaller than the old stainless steel Tayana one. With some consultation from Paul and all his wooden boat experience, I went to town sanding the bowsprit with 40 grit sandpaper. After an hour or two of repeated rounds of sanding, fitting, and marking, I eventually got a snug fit.
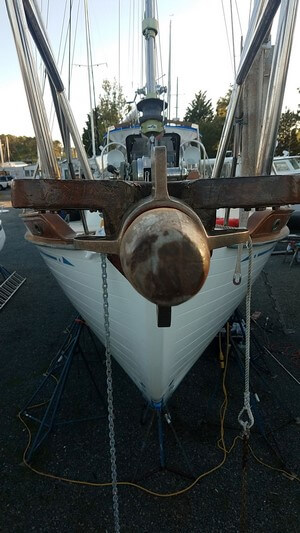
The cranse dry-fitted after carefully, but vigorously sanding the bowsprit.
Writing this up, I feel like I accomplished a lot over the last week. However, the successes were deeply tempered by a great deal of frustration at the time, and I rarely felt like I was making any real progress.
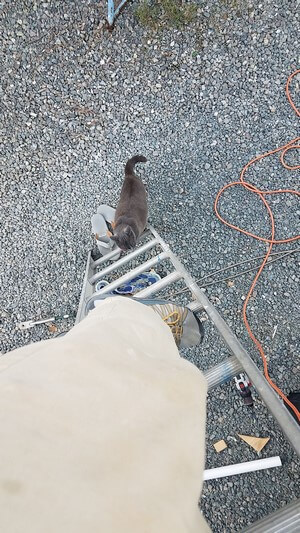
Gary Lee’s boatyard cat climbing the ladder to Bear.
As I was putting tools away after fitting the cranse, a cat that I frequently see around the yard tried to join me aboard. As Gary Lee, a yard regular who happens to own the cat, told me later that evening over an ice-cold beer – from his mini fridge that he has stationed right next to a fire pit looking out on the Rappahannock – the cat would have climbed up had I not been on the ladder. Apparently she is quite the salty feline; I might have to ask her to help me with a project or two.
Great post! I’m looking forward to your solution to your stuffing box. I’ve had mine apart a couple times and I’ve had to do some creative leveraging to so it.
Lol I know Gary Lee and his cat from Backyard Boats in Shadyside haha small world.
I’m on st. Croix now in the USVI with a new to me Tayana 37. If may ask, all told what did you end up paying out to port Townsend?
Cheers
Oliver Joves
Hello Oliver! Small world; I hope Gary Lee is doing well these days, wherever he is at the moment.
The bobstay and whisker stay fittings along with the cranse was 1335 in early 2018. I am not sure about the chainplates, which we ordered back in 2014. I think they were about 800, but Margaret thinks it was around 1200. Regardless, I am sure bronze prices as well as Port Townsend’s other costs have increased since then.
Good luck with the new T-37. What are your plans?