The image gallery is where you will find photographs from a variety of our adventures. Please click on the ‘i’ at the top left of the gallery for captions.
-
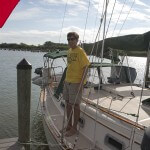
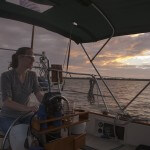
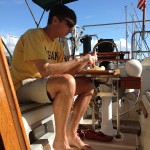
- Jeff Sailing Helbent
-
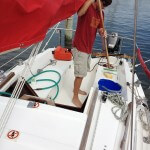
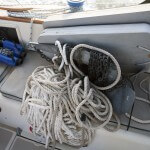
- Cleaning the Decks
-
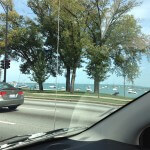
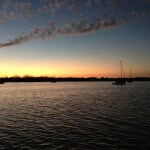
- Chicago Harbor – Dreaming of Sailing Soon!
-
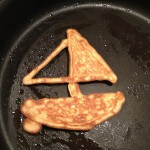
- Sailboat Pancake!!!
-
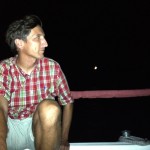
- Jeff looking pretty relaxed for having just broken his toes
-
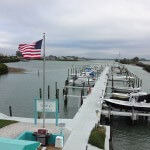
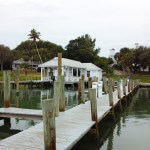
- Uncle Henry’s Marina, Gasparilla Island
-
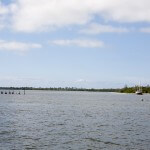
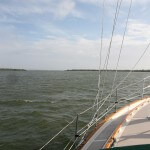
- Beautiful morning in Pine Island Sound
-
- Our adventure is coming to an end
-
- The end of a great trip!
-
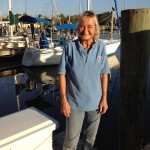
- The fabulous Loretta checking us back in at the dock
-
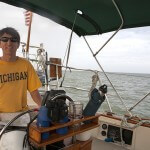
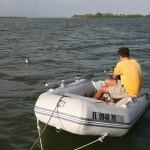
- Jeff at the helm
-
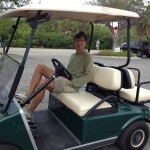
- Jeff waiting to be chauffeured around the island
-
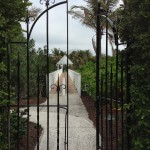
- An open gate on an island of many gated communities
-
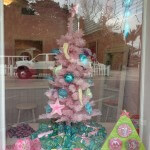
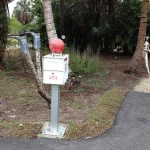
- Pink X-Mas Tree? Only on Gasparilla Island
-
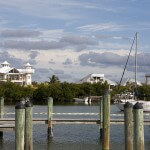
- View from the dock at Barnacles
-
- Sojo docked at Barnacles on Captiva
-
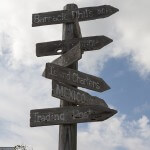
- Distance signs at Barnacles
-
- Punta Blanca
-
- Leaving our favorite anchorage
-
- After the Mt. Gay trade!
-

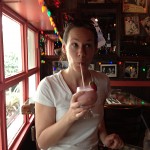
- Ice Cream in December!!!
-
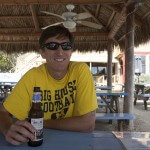
- Jeff at Barnacles
-
- Green Blobs
-
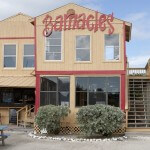
- Barnacles on North Captiva
-
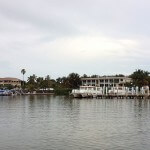
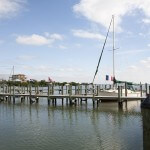
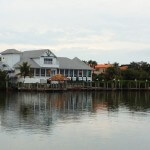
- ‘Tween Waters Marina from our anchorage
-
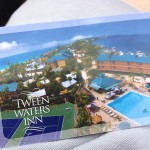
- Our “day pass” to Tween Waters
-
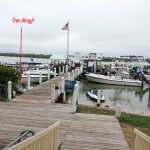
- The dock at ‘Tween Waters Marina
-
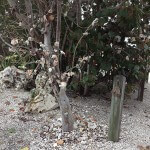
- Shell tree on Captiva near Tween Waters Marina
-
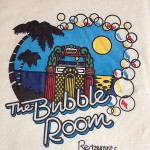
- The Bubble Room – great napkins!
-
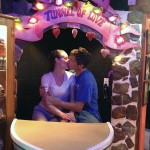
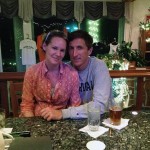
- Smooches in the Tunnel of Love at The Bubble Room
-
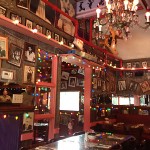
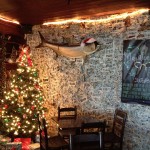
- Inside The Bubble Room
-
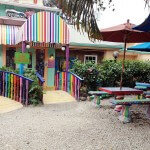
- The Bubble Room
-

- Renting bicycles at ‘Tween Water Marina
-
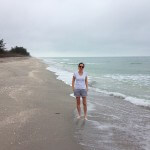
- Gulf Beach on Captiva
-
- Lawn Decor on Sanibel
-

- Our table at The Bubble Room
-
- Seriously foofy drink at The Bubble Room
-
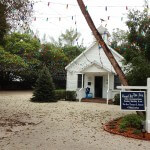
- Chapel by the Sea
-
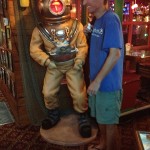
- Jeff and his diver friend at The Bubble Room
-

- Bridge between Captiva and Sanibel Islands
-
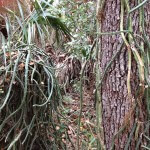
- Vines on Cabbage Key
-
- Drinks and snacks at the bar at the Green Flash
-
- Green Flash from the water
-
- Dock at Cabbage Key
-
- Dollar bill “wallpaper” at Cabbage Key Restaurant
-
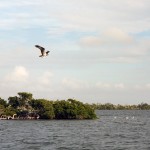
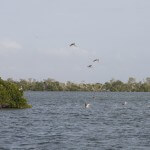
- Birding on Cabbage Key
-
- Pelican Key
-
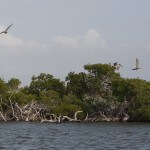
- Pelican Key
-
- Pelican Key
-
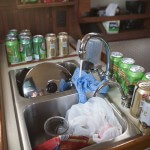
- Messy galley
-
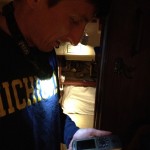
- Jeff plotting our position
-
- Still working on the engine…now with our pet seagull!
-
- Cleaning out the carburetor
-
- A captain and his beer….much deserved after his battle with the dingy engine!
-
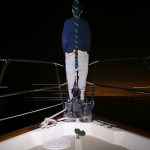
- Jeff on the bowspirit, light painting / long exposure
-
- Waiting to Push Off
-
- View from Portside
-
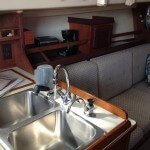
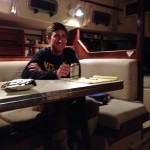
- Sojo Interior from the companionway stairs
-
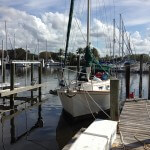
- Sojouner at the dock
-
- Leaving Burnt Store Marina
-
- Mosquito Cove on Helbent
-
- Leaving Burnt Store Marina
-
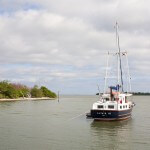
- Heading out to Charlotte Harbor
-
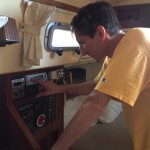
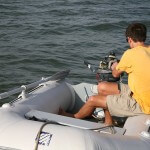
- Jeff checking out the navigation systems and sirius radio!
-
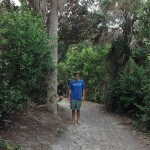
- Jeff on Cabbage Key
-
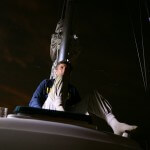
- Jeff on deck, Margaret painting with light
-
- At anchor near Cayo Costa
I found your site when searching for owners of tayanas with chainplate issues. I have owned one for 33 years and have inspected and replaced or cleaned all chainplates except the backstay chainplate. This sunday in 18-20 knot wind the backstay chainplate pulled out about 4″ after a solid jolt. Not having yet inspected what it looks like in there I am assuming the plate pulled the studs out. Have you replaced yours and if so what did you do. I am considering cutting the port stern corner locker out so I can climb into the stern area for access to the plate and knee.
thanks
Gary Watkins
Windship Hull 302
Wow, Gary. I can only imagine how alarming it must have been to have that occur. I am glad you and the boat are safe.
We just replaced the chainplates this spring. I still need to write up more about the process and post a few videos we have, but you can find some information here on the blog and in our videos. I would also be happy to answer any questions you have about the process.
In short, we ordered external bronze chainplates from Port Townsend Foundry. While it took them several weeks longer to fabricate them than they had indicated (which is fine if you are aware that they may be a little late), the folks there, particularly Pete, were incredibly helpful throughout the process, guiding me through some of the problems that I encountered with the installation. With our six side CPs, we took the old plates out, filled the deck holes and the void behind the knees with epoxy, fitted the CPs (which involved cutting a notch in our cap rail), and then drilled the holes, fixed G10 backing plates, and bolted on the CPs with a hefty serving of Sikaflex.
The backstay chainplate turned out to be a bigger endeavor, mainly because we found that water had entered into the wood inside the knees. Like you are planning, we had to cut out the aft three-quarters of our aft starboard cockpit locker for access to the CP. Then I grinded and sawed out the entire knee, which was dripping with water at points. After that, we built up a backing area with Duraglass (other epoxies with glass in them, including something like West + 404 would work, I imagine) and G10 and then fitted and attached the CP like we did with the others.
Good luck with the process and let me know if I can give you some more information about any part of the process.